

How to easily update an existing staging table with new set of columns in Azure Data Factory
Let’s paint a scenario, a Company has an imported staging tables having number of columns to be more, like 30 and above from more than 10 tables from an API with Azure Data factory where not all columns were imported as instructed. Suddenly, they want the remaining columns imported as soon as possible and you are like, WOW! You thought of importing the schema again to start from the top, how long it will take to implement and better ways to get on it? what do you do?
In this guide, you’ll learn a better way of importing the remaining column(s) from an API with Azure Data Factory. The steps will be simplified to get you started. It is assumed you are familiar with azure data factory environment. So, let’s get right into it.
Here, the new column(s) will be imported and mapped to the staging table based on the required data type.
Firstly, go to your browser and open the azure data factory’s website on two tabs (if you have two screens that will be fine). On the first screen (tab), Select the pipeline you want to make the changes but, for this case my pipeline is “dummy_pipeline” found in the test folder and clicked as below:

From the blue highlighted box above, click on the pencil icon and the below comes out:

Click on the “copy data” box and select the “Mapping” tab

Here, we click on “import schemas” button and expand the mapping’s view to get a better picture of the new column(s) to be imported. Please note that on this first screen (tab), YOU MUST NOT CLICK PUBLISH BUTTON, because that’s the trick.

So, the three columns to be imported on the first columns are “name”, “api_name” and “value”, which are under the custom_fields. At the top where the import schema button is, click on the “Advanced Editor” button to make it active, clicking on each box to see how these new columns appear so it doesn’t return an error when ran,
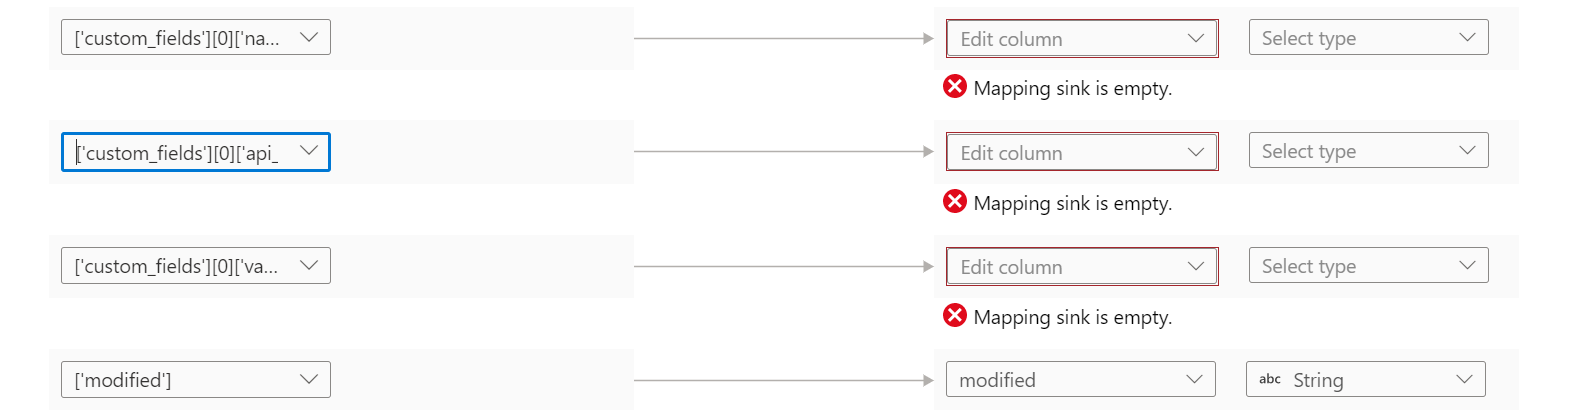
The appearance for “name”, “api_name” and “value” are “['custom_fields'][0]['name']”, “['custom_fields'][0]['api_name'] ” and “ ['custom_fields'][0]['value'] ” respectively, note the appearance and head straight to the second screen (tab).
While on the Second Screen, go over the same steps and stop at selecting the mapping tab. Here in this case, DON’T CLICK THE IMPORT SCHEMA instead make the advance editor active. Now, click on “New Mapping”, three times since there are three columns to be imported.

Recall the new columns’ appearance that was discussed earlier, will be inserted into the each of the box on the first, second column structure and select the required data type.

Now, with this done, locate the publish with the number of changes to be saved and click the button.

Once the “Publish all” button is clicked, the changes are saved and then click on the “Debug” button as this when finished, will update the staging table with the new columns and can be confirmed in your server.